Quite often when completing a video in After Effects, you need to add a very simple inscription or regular text animation. Sometimes the effect of text appearing and fading is quite enough. In this blog post I will explain how to make the text appear and fade with the help of animation.
Changing opacity of a layer is the simplest way to make any layer of composition smoothly appear and fade.
In order to set this parameter, you have to click the triangle next to your text layer name. As an example, I will take the copy of our website “ukietech.com”. Choose “Transform” in the appearing list and then “Opacity”.
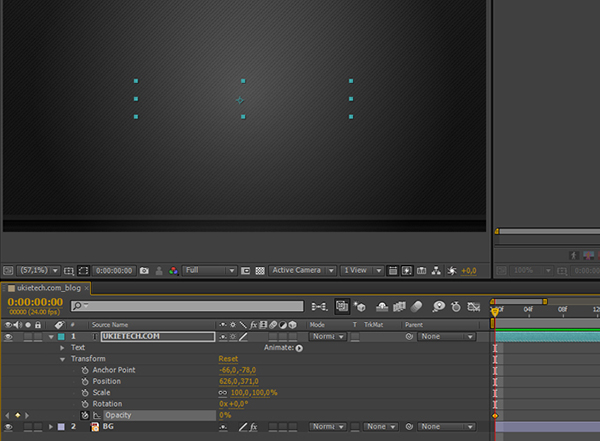
To make our text appear smoothly we will set 0% opacity at the beginning of video, and on the 2nd second we set the value of 100%. Thus, our text layer will be appearing seamlessly in two seconds.

Text fading at the end of chosen time can be set in the same way. All you need is to set “Opacity” value from 100% to 0% in the definite time range.
You can also use standard animation effects to smooth the text appearance and fading. Look through them with the help of Adobe Bridge.
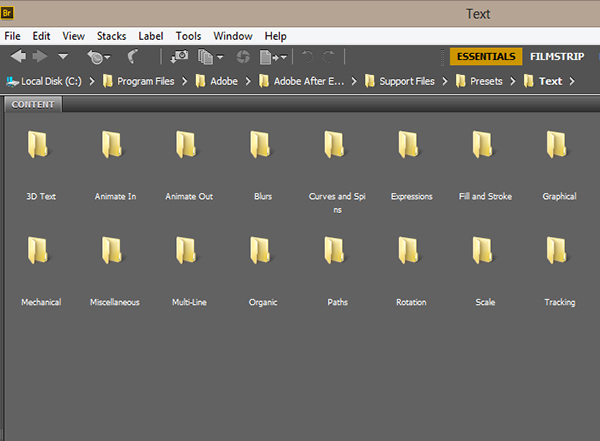
Open “Text” folder, then “Animation”, and choose the effect you like. I chose “Fade Up and Flip” effect.
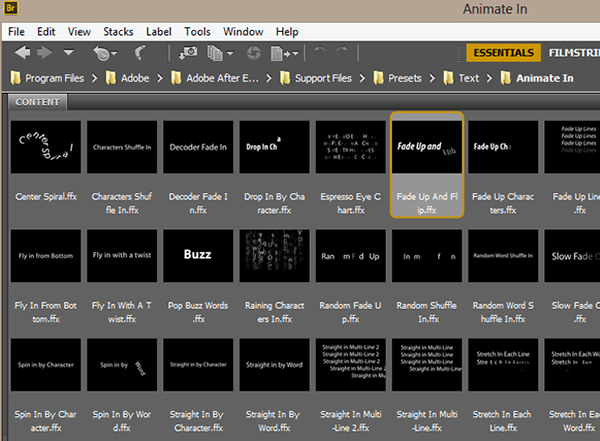
Try applying different animation types and choose the one that will suit your video or presentation the best.
This is it – the simplest and the less time-consuming way to create the text animation. :)
See also: Time-Lapse. The Things You Need to Know