Tips on creating cinemagraph
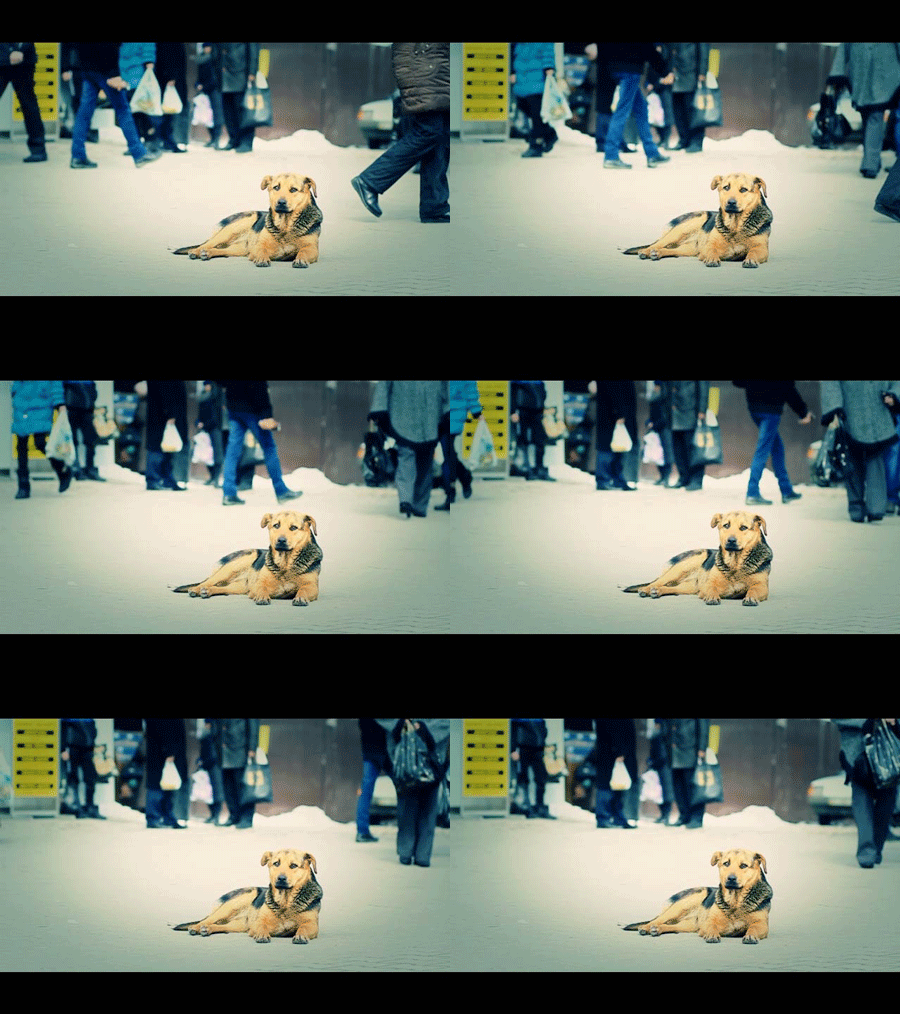
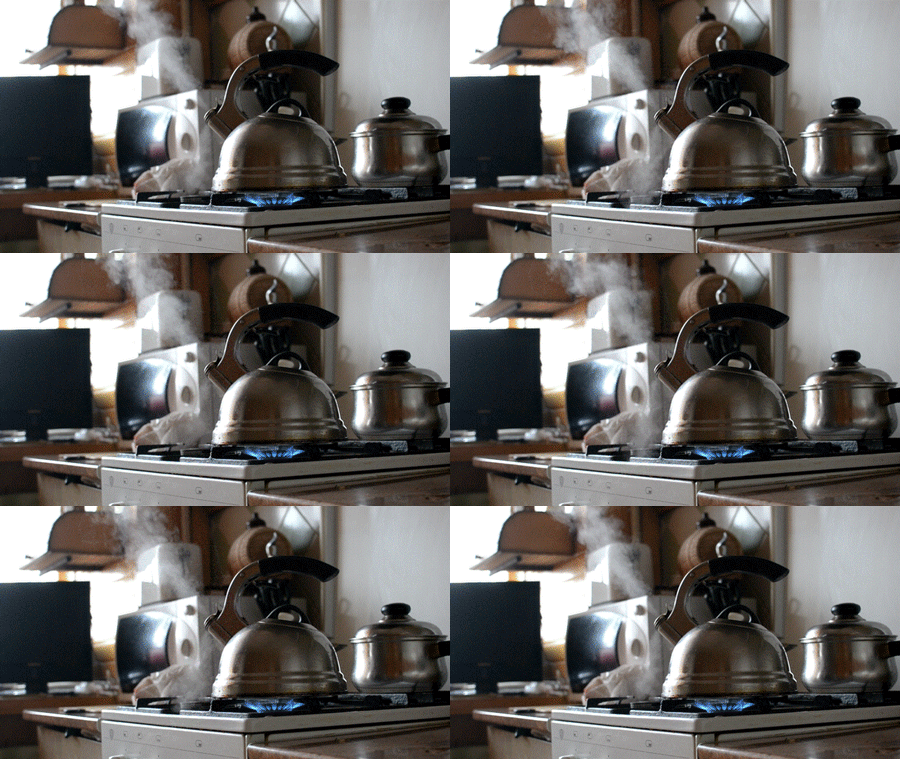
A Cinemagraph is an image that contains within itself a living moment that allows a glimpse of time to be experienced and preserved endlessly. Visual Graphics Artist Kevin Burg began experimenting with the gif format in this style in 2009 but it wasn't until he partnered with photographer Jamie Beck to cover NYFW that Cinemagraphs were born. Marrying original content photography with the desire to communicate more to the viewer birthed the cinemagraph process. Starting in-camera, the artists take a traditional photograph and combine a living moment into the image through the isolated animation of multiple frames. To quote supermodel Coco Rocha "it's more than a photo but not quite a video".
Today I would like to tell you how you can do this. With, just a little bit of effort your photos will come alive.
The key element is your choice of the shooting subject. The rules are the same as with ordinary photos, but instead of the first shoot we will shoot video. Usually, for this we need a tripod or a surface, where we can put the camera.
Then, you should import your captured video to Adobe Premiere time line. Then you have to crop the fragment, where people are moving
.jpg)
Now you have to export video fragment, which we need.
.jpg)
Now you should import video in After Effects program.
.jpg)
Then, you have to make a duplicate of video on time line. Turn off the upper layer and choose the lower layer.
.jpg)
Next, you have to freeze the frame. For this use - Layer – Time - Freeze Frame
.jpg)
After freezing the lower layer you have to turn on the upper layer and choose the instrument to create the mask.
.jpg)
Outline that part of video, which will be in motion. After this you must connect the mask.
.jpg)
Let’s unite 2 videos in one (Layer – Pre-compose)
.jpg)
Export video as JPEG Sequence. (After conversion we have got 66 pictures in jpg format )
.jpg)
The final step consists of loading photos as a smart object in Adobe Photoshop. Don’t forget to point that it is Image Sequence (put a check). After that, you have to set the number of frames per second we need.
%20%20(smart).jpg)
Save for web browsers thorough GIF. (File – Save for Web..)
.jpg)
.jpg)
Here you go! Let’s look at the live photo in the web browser. :)


